- info@bhansalibrothers.org
- 91 93243 65707 / +91 8369326237
- 13 Khetwadi Back Road, Mumbai -400 004
- AN ISO 9001 2015 CERTIFIED ORGANISATION
2b 2d Mill Surface Finish Pipe
2b 2d Mill Surface Finish Pipe
Best Price & Fast Delivery Of Hot Rolled Annealed Steel Tube/ Tubing In India, Get Stock Of Surface Roughness Pipe For Sale
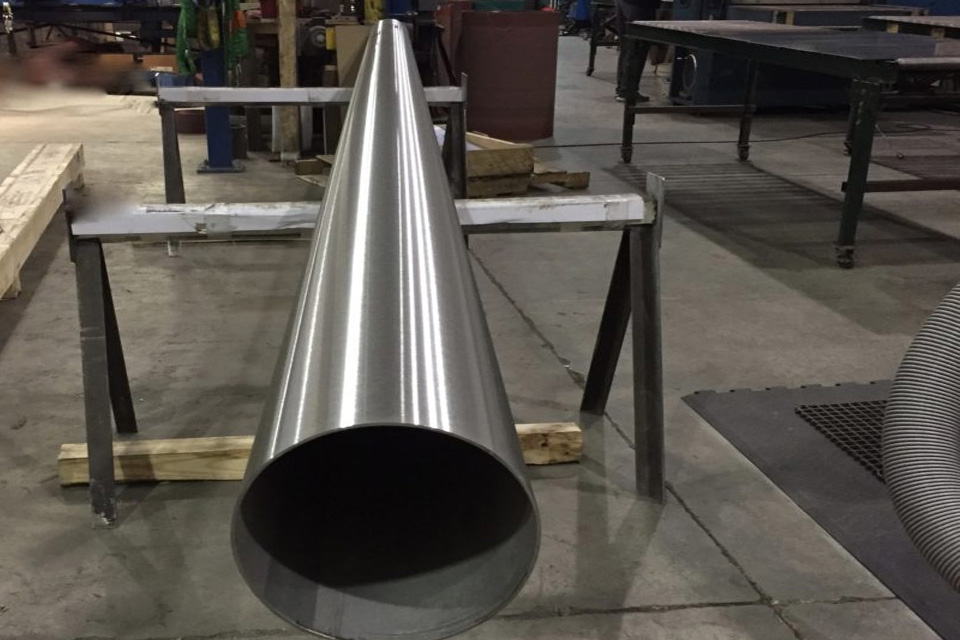
The 2d mill finish stainless steel pipe is a smooth, non-reflective cold-rolled pipe that has been annealed and pickled or descaled finish. This non-directional standard pipe surface finish is well favoured by most buyers due to its retention of lubricants in deep drawing applications.
Conversely, the 2b mill finish pipe also has a smooth finish while being produced in a cold-rolled annealed steel which is pickled or descaled finish. However, the difference is between 2d and 2b is that the 2b mill stainless steel pipe internal surface finish is moderately reflective. Typically, the 2b 2d Mill Surface Finish Pipe is produced by imparting a final light cold-rolled pass with the use of polished rolls that have a large diameter.
This general-purpose surface finish of stainless steel pipe is more readily polished in comparison to either No 1 or 2D finishes. Product with 2B stainless steel pipe surface finish is normally supplied in the annealed state plus the pipe is also lightly cold-rolled unless a tensile-rolled product, which is harder and stronger has been specified. The stainless steel pipe surface finish chart is particularly common in chemical, industrial, as well as the food processing applications such as in processing piping systems including vessels and tanks.
- No. 0: Hot-rolled and annealed
- No. 1: Hot-rolled, annealed, and passivated
- No. 2D: Cold-rolled, annealed, pickled, and passivated
- No. 2B: Cold-rolled, annealed, pickled, and passivated, with an additional pass through highly polished rollers
- No. 2BA: Bright annealed, which is similar to 2B but has an additional step in which the steel is annealed in an oxygen-free atmosphere
- No. 3: Coarse
- No. 4: Brushed
- No. 5: Satin
- No. 6: Matte
- No. 7: Reflective
- No. 8: Mirrorlike
- No. 9: Bead blast
- No.10: Any of several electropolished or heat-colored surfaces
Buy hot rolled annealed tubing, Mill Surface Finish Pipe directly from manufacturers, View 2b mill finish pipe price
To Calculate |
Equation |
Notes |
| Ra | Ra = CLA = (M1 + M2 + M3 + M4) / 4 Where: M1, M2, … Mn are measure values |
Average Roughness in micro-meters or micro-inches. Ra is the arithmetic mean deviation of the profile |
| Rc | Mean height of profile irregularities | |
| Rku | Kurtosis of the profile | |
| Rmax | Maximum roughness depth | |
| Rmr | Material Ration of the profile | |
| Rp | Rp = MAX( M1, M2, M3, … ) | Max profile peak height |
| Rq | Rq = RMS | Root mean square deviation of the profile |
| Rsk | Skewness of the profile | |
| Rt | Max height of the profile | |
| Rv | Rv = MIN( M1, M2, M3, … ) | Max Profile Valley Depth |
| Ry | Max height of the profile | |
| Rz | Rz = Ra x 7.2 This is a very ROUGH estimate and not an exact conversion! |
Avg Max height of the profile |
| Rz ISO | Roughness Height | |
| RPM | Average max profile peak height | |
| RMS | RMS = SQRT( (M1^2 + M2^2 + M3^2 + M4^2) / 4 ) | Root Mean Square |
| CLA | CLA = Ra | Center Line Average |
| Cut-Off Length | Length required for sample | |
| N | N = Ra (um) x 40 | New ISO (Grade) Scale Numbers |
| Standard Grit (reference only) |
Ra µin | Ra µm | RMS µin | RMS µm |
| 150 | 27 - 32 | 0.68 - 0.80 | 30 - 35 | 0.76 - 0.89 |
| 180 | 16 - 23 | 0.46 - 0.58 | 20 - 25 | 0.51 - 0.64 |
| 240 | 14 - 18 | 0.34 - 0.46 | 15 - 20 | 0.38 - 0.51 |
| 320 | 8 - 10 | 0.21 - 0.25 | 9 - 11 | 0.23 - 0.28 |
| RMS (Micro-inch) |
RMS (Micron) |
Ra (Micro-inch) |
Ra (Micron) |
Grit Finish |
| 160 | 4.06 | 142 | 3.61 | 36 |
| 98 | 2.49 | 87 | 2.21 | 60 |
| 80 | 2.03 | 71 | 1.80 | 80 |
| 58 | 1.47 | 52 | 1.32 | 120 |
| 47 | 1.20 | 42 | 1.06 | 150 |
| 47 | 1.20 | 42 Before Bead Blast |
1.06 | USDA Bead Blast |
| 34 | 0.86 | 30 | 0.76 | 180 |
| 21 | 0.53 | 19 | 0.48 | 220 |
| 17 | 0.43 | 15 | 0.38 | 240 |
| 14 | 0.36 | 12 | 0.30 | 320 |
| 10 | 0.25 | 9 | 0.23 | 400 |
| 5 | 0.13 | 4 (+/-) | 0.10 | Mirror |
The following industry standards provide guidelines for roughness that our products meet, and exceed:
| BS | Assessment of surface texture - guidance and general |
| 1134:2010 | information |
| ISO 4287-1 | Surface Roughness Terminology Part 1 |
| ANSI B46.1 | Surface texture, surface roughness, waviness and lay |
ASTM A53 Gr.B Galvanized Carbon Steel Pipes, OD 33.4 MM, SCH 5S
ASTM A53 Gr.B Galvanized Steel Pipes, 5.8 Meters, Plain End
API 5L X42 Seamless Pipes, 8 Inch, 12M, FBE Coated, SCH.STD
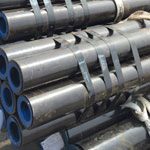
Black Surface Carbon Steel Pipes, ASTM A106, SCH80, DN15
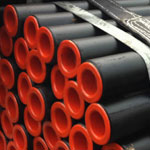
API 5L Gr B Seamless Pipes, SCH 40, 6M, DN200
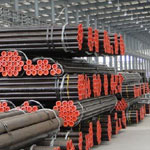
Beveled Black Line Pipes, SCH 80, 8 Inch, 12M
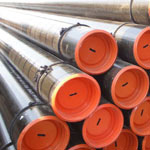
A53 Grooved Galvanized Pipe, SCH 40, 6 Inch
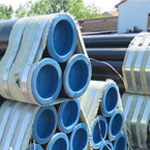
ASTM A106 GR B FBE Coated Pipe, 10 Inch
